
|
|
|
[ Home Page | Location | Terms & Postage | Secure Order | Kit Info | Order Form ]
| 
| 
| 
|
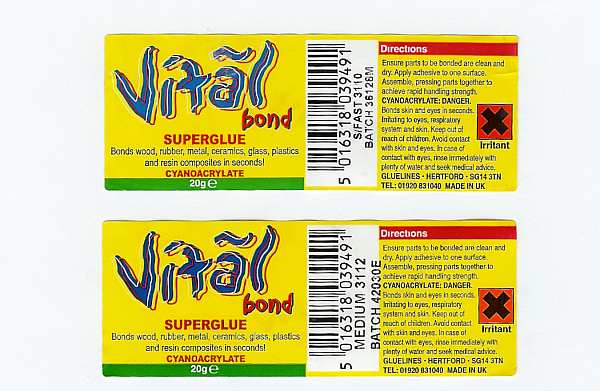
| Superglue Cyanoacrylate in 20g bottles, superfast, thin, medium and thick. |
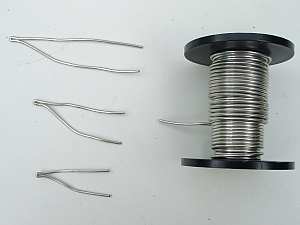
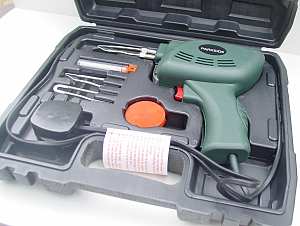
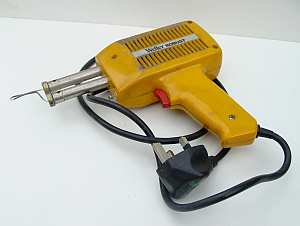
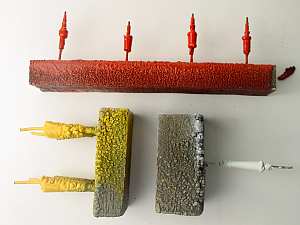
Solder gun bits made from 16 swg tinned copper wire, made to any length required. |
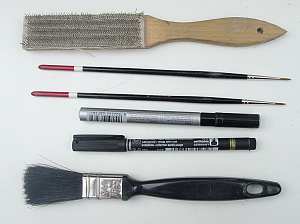
Wire brush for polishing, ink pens, paint brushes and larger dusting brush. |
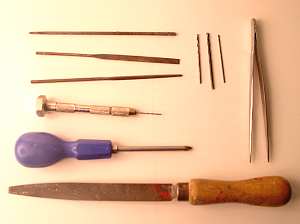
Files large, small, drill pin chuck and drills, tweezers and screwdriver. |
| 
| 
| 
|
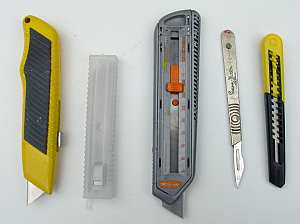
| Scalpal, stanley knife, extendable replacement blades with replacement blade cartridge. |
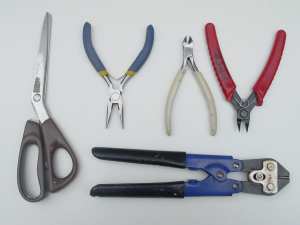
Scissors, long nose pliers, side or end cutters and bolt cutters for heavier wire. |
Paint spray cans for primer coating and can be made to order with matt or gloss paints. |
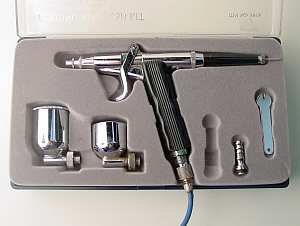
Small air brush or larger paint spray gun and Air Compressor to drive either. |
| 
| 
| 
|
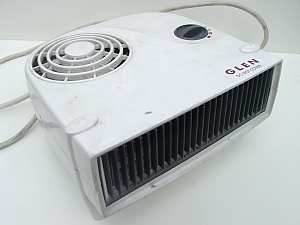
| Fan heater with hot, cold hot air blower. | Could use hand held hair dryer | Solder gun 100 Watts, should be between 100 Watts and no greater than 200 Watts. |
Mounting pins for items ready for painting so parts are hand free whilst painting |
|
1. |
The older kits will come with parts lists, assembly instructions and exploded diagram showing how the parts fit to-gether. |
|
2. |
New kits will come with parts list, picture to identify the parts and selection of photographs to show how the model should go to-gether. No assembly instructions or exploded diagrams. |
|
3. |
All kits will come with coloured photograph on the box label to assist assembly. |
|
4. |
Remove all parts from card by slicing the clear film ensuring no parts stick to film as you remove it. |
|
5. |
Check and identify all parts from the parts list. Any missing or damaged parts should be requested either by telephone, email or form supplied with kit direct from ASAM Models. |
|
6. |
Deburr and clean all white metal parts using file, knife, wire brush or wet and dry paper. |
|
7. |
Deburr and wash any resin parts with degreasing agent or warm soapy water taking care not to damage the resin parts in the process.. |
|
8. |
Identity holes to be drilled and then drill them using correct drill. |
|
9. |
Try a dry fit of the major parts to familiarise oneself with the assembly. |
|
10. |
Decide on how you want to paint the model and build assemblies to suit. |
|
11. |
Assemble the parts into sub-assemblies ready for painting. |
|
12. |
Assembly can be with solder, superglue or epoxy resin glue. Epoxy resin is slow and is not the best method to be used. |
|
13. |
During the building check to see if each assembly fits with other assemblies. |
|
14. |
When using superglue care is needed so as to prevent whitening in enclosed areas such as windows. To prevent this place the model in front of a warm air fan heater or hair dryer. Not too hot and not too close. |
|
15. |
Before painting check for marks, holes or porosity. Fill using, solder, superglue or body filler. Finish off with wet and dry paper, files and then polish with wire brush. |
|
16. |
Decide on what paint you will use. It can either be Cellulose, Polyurethane or Acrylic. Do not mix primer, matt or gloss. Use same type of paint throughout. |
|
17. |
To paint one can use a spray gun with compressor, or spray cans or hand paint if you have very good paint brushes. Prime and paint prior to final assembly. |
|
18. |
Let the model stand for 24 hours before you start final assembly. |
|
19. |
Make certain you understand what order the final assembly will take, it is difficult and may cause damage if you have to take things apart again. |
|
20. |
Hand paint as required, fit lights, rear view mirrors, roof lights. |
|
21. |
When preparing the window plastic for fitting inside cab, Try a dry fit before you fit with whatever glue you decided to use. In the case of superglue make sure the warm air heater or hair dryer is available. |
|
22. |
Complete model by fitting wheels, tyres , axles and any other external parts remaining. |
|
23. |
Apply the water slide decals-transfers using small paint brush and bed down. Allow a short period of time for the decals to dry and so avoid disturbing them. Decal softening solution can be used to bed the decal down over dorr handles and edges. |
|
24. |
We will replace decals if they are not your first choice, subject to us having them and you having returned the decals originally supplied with the kit. |
|
25. |
Any missing or damaged parts or split tyres will be replaced free of charge. |
[ Home Page | Location | Terms & Postage | Secure Order | Kit Info | Order Form ]

|
Alan Smith & Allan Simpson trading as ASAM Models
Minden House,
18A Farnborough Street, Farnborough, Hampshire GU14 8AG, England.
Tel: +44 (0)1252 544424; Mobile: +44 (0)7768 694396
Email:
alan@asam.co.uk; Web Site: http://www.asam.co.uk
Last updated 1st January 2020 by Alan Smith